My summer time was spent a bit differently this year. I did not have any problems with a work schedule to interrupt my projects as I previously had the past forty years. As normal, I like to use household items I already have in the inventory, usually found in my craft containers.
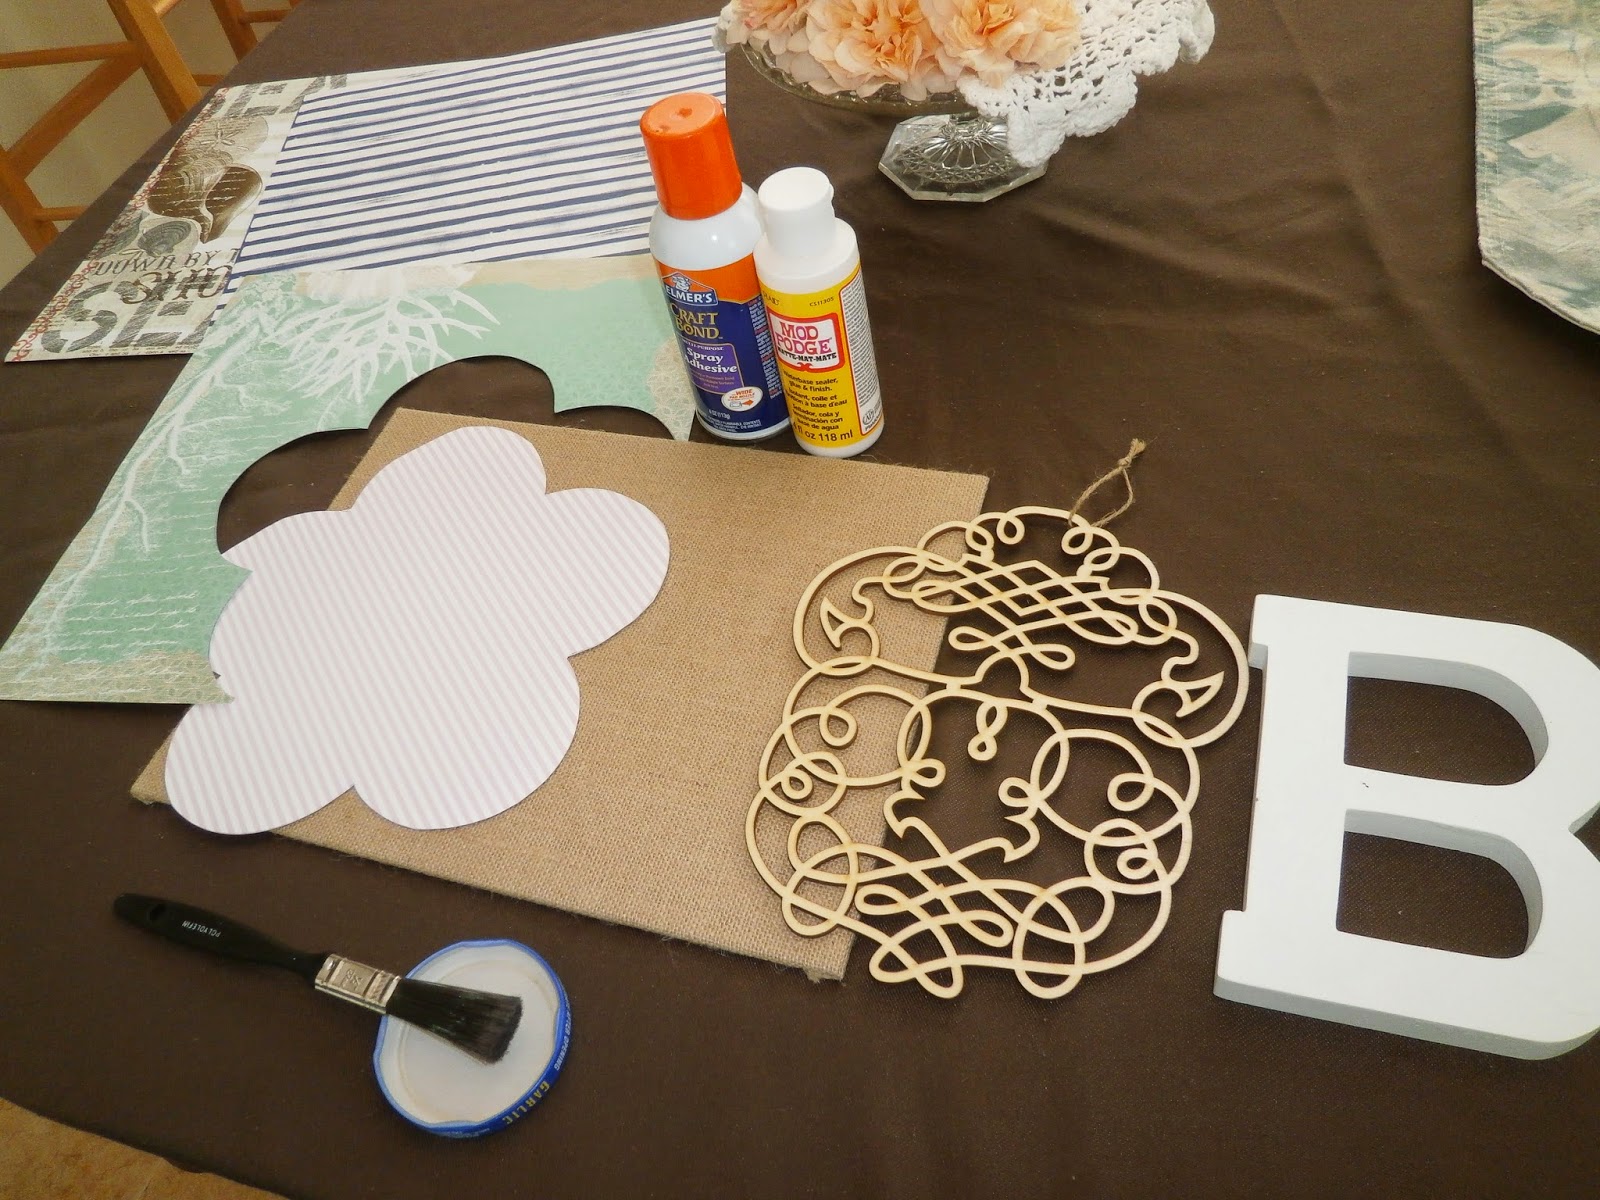
This first item, the the wooded white letter "B".
The next item I found in my office was the Elmer's Craft Bond-spray adhesive and also an assortment of scrapbook sheets.
In this photo, you can see the burlap covered poster board. This and the following pieces were purchased at my favorite store, Hobby Lobby. So my shopping list included the burlap board, Mod Podge-waterbase sealer, 1/4" thick or less of a cardboard shape and cutout.
First step: Trace cardboard shape out of favorite color scrapbrook sheet. Then cut shape out with scissors.
Second step: Outside use spray adhesive on cardboard shape and then carefully place the scrapebook
sheet cutout onto the cardboard. After drying. Then start applying Mod Podge with craft
brush. Allow 30 minutes for each coat to dry before applying another layer of Mod Podge.
The Mod Podge reminded me of using decoupage back in the early 1970's.
Third step: Next step glue the cardboard to the burlap board. Making sure to center the piece and have
an even margin on each side.
Fourth step: Apply spray adhesive to back of cutout and apply on top of the scrapbook Mod Podge coated
sheet centered. The last step will be to place the White "B" letter glued and center on top.

 Tea time consultants booth shown here in the lower right hand corner. Directly across from those great candy apples.
  Neighbor was Jazzercise.
  Yes, we still have our aprons, each sells for $22.00. Heritage Lace print shown here in blue/white and spring green.
  Hottest selling items in November are these cute Chevron print baskets. Need something for the "Man Cave"? We can help--golf balls, TV snacks and of course little baskets of chocolates.